It’s kinda scary how much Facebook knows about us, right?
But it’s a beautiful thing for us Amazon Sellers & marketers.
One of the most powerful features of using My Seller Pal with Facebook ads is optimizing for conversions.
[Get detailed videos of this strategy and many other Amazon strategies by signing up for a free My Seller Pal account and use our free learning section.]
Clicks are nice, but we want conversions!
If you’re not targeting conversions, you’re missing out on Facebook optimizing to get more sales on your behalf.
This tutorial will show you how to create a Facebook Ad, optimizing for conversions with My Seller Pal.
The Beauty of Using Facebook Ads Optimized for Conversions
When you choose the Facebook Ad objective “conversions”… Facebook will optimize your ad delivery to show your ad to people who are more likely to take your discount code for your Amazon product.
As more people take your discount codes on My Seller Pal, Facebook will continue to optimize ad delivery.
In a separate article I will detail how to create an audiences (a different topic) based on people who took your code so you can reach them with additional offers.
Here we will create a Facebook Ad optimized for conversions to promote your Amazon product with My Seller Pal.
Here’s an brief overview of the steps
- In My Seller Pal create a Landing Page
- Enter your Facebook Pixel in the “Scripts” section on the Landing Page.
- Then create a Promotion applied to the Landing Page (either instant opt-in or email opt-in)
- Enter your Facebook Pixel in the “Thank You Page Scripts” on the Promotion
- Custom events are not required, you can use the Thank You Page URL to track conversions (see below)
- Copy the the “Thank You Page URL” from the promotion page.
- Create a Custom Conversion in Facebook
- Create an Facebook Ad with the objective “Conversions” using the conversion you just created
Complete step-by-step guide to use Facebook Ads to market Your Amazon Product, optimizing for conversions.
Step 1: In My Seller Pal create a Landing Page
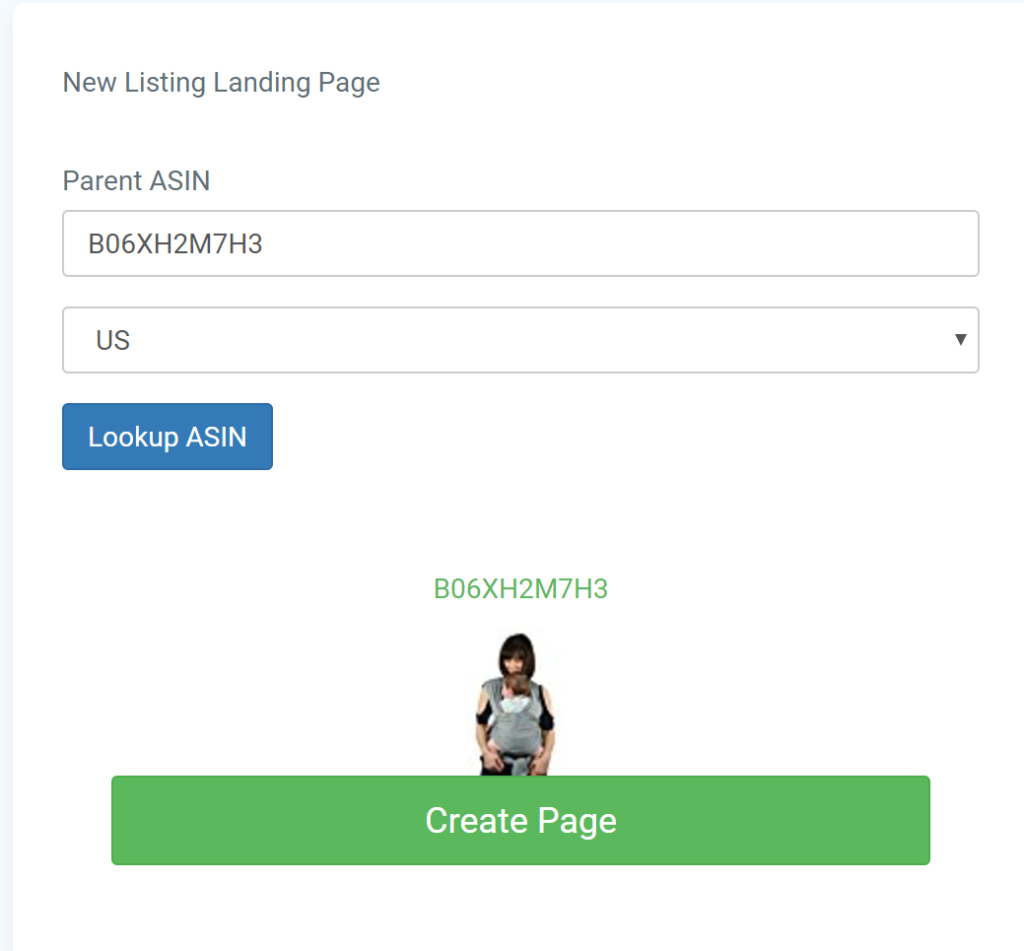
Step 2: Enter your Facebook Pixel in the “Scripts” section on the Landing Page.
From Facebook copy your pixel code.
![]()
![]()
![]()
![]()
Step 3: Create a Promotion applied to the Landing Page
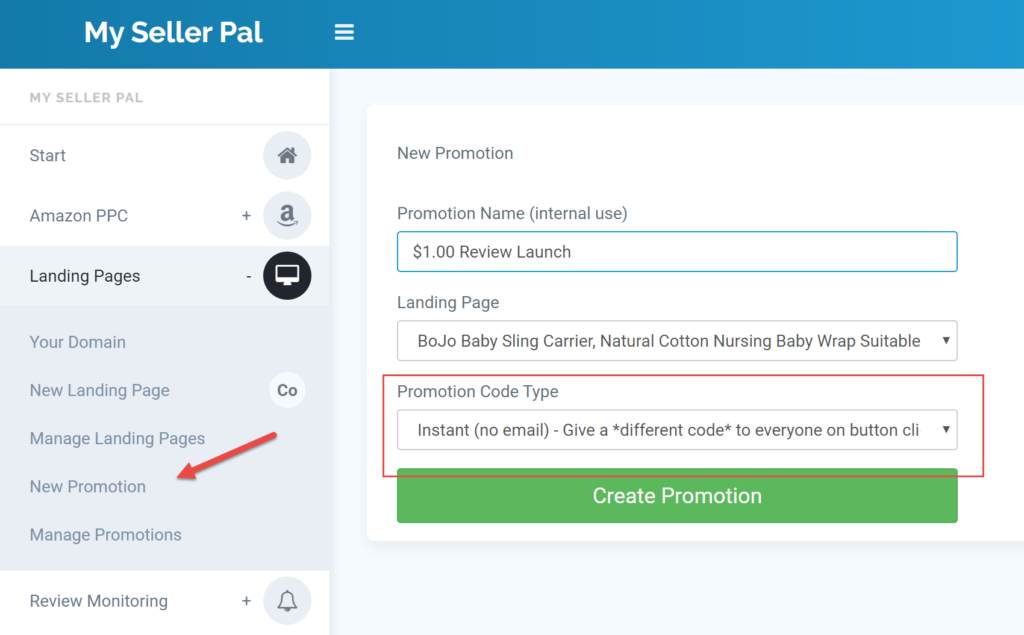
Step 4: Enter your Facebook Pixel in the “Thank You Page Scripts” on the Your Promotion
![]()
Step 5: Copy the the “Thank You Page URL” from the promotion page.

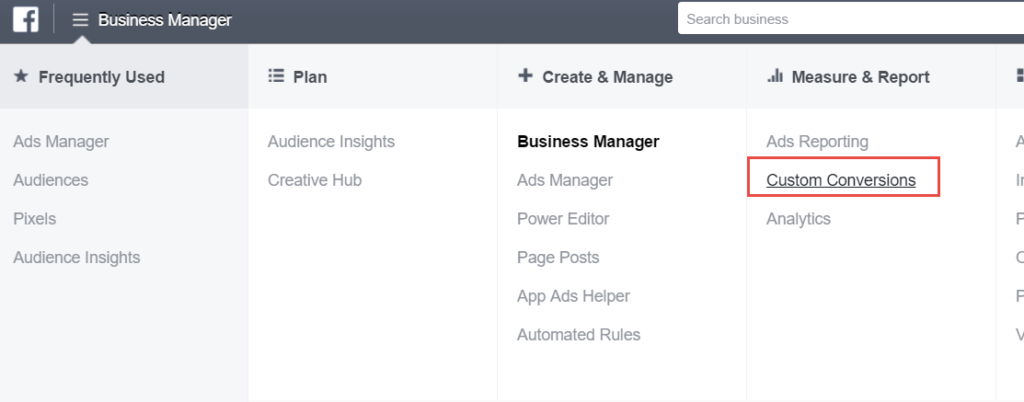
Step 6: In Facebook choose create a Custom Conversion
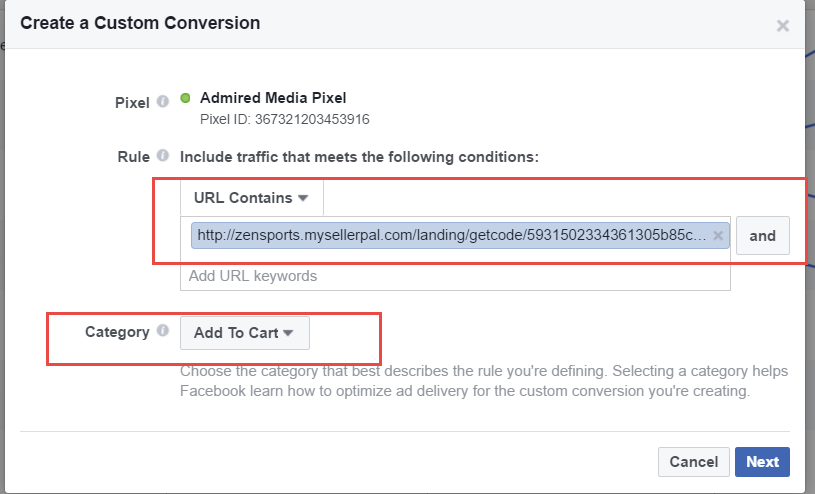
In Facebook choose “Custom Conversions” -> “Create Custom Conversion” -> “URL Contains” -> Enter your Promotion Thank You Page URL
Paste your promotion “Thank You Page URL” in the URL Contains Rule.
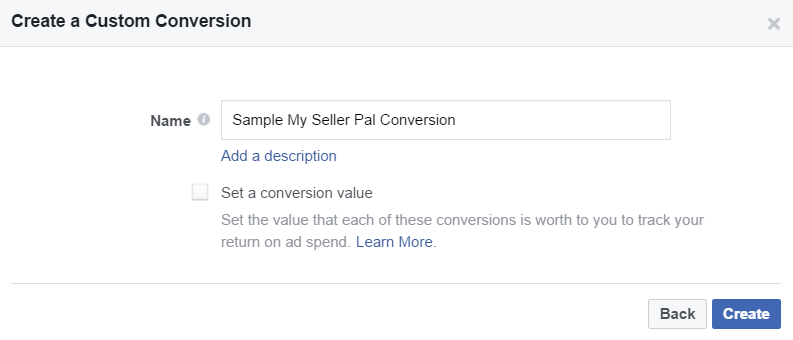
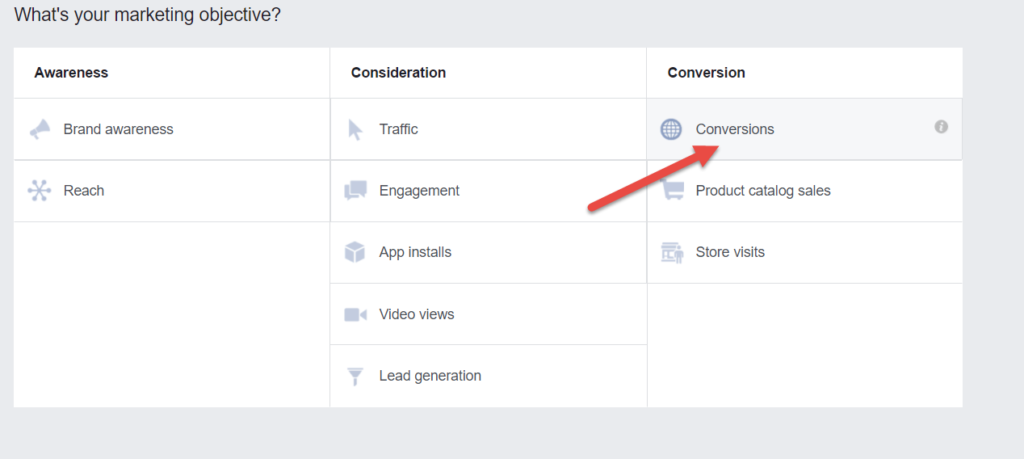
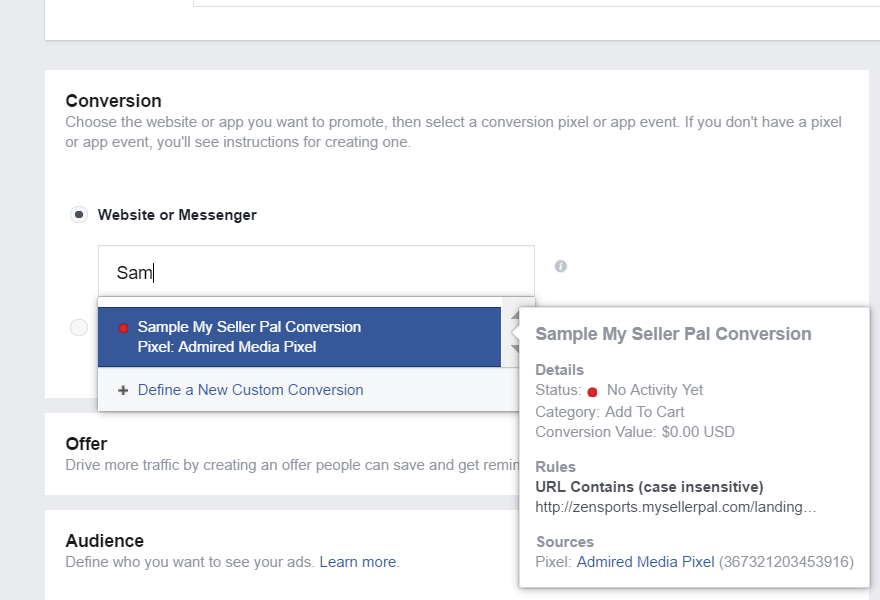
Step 7: Create a Facebook Ad with the objective “Conversions” using the conversion you just created
And that’s it!
Now in Facebook ads manager, you can track Ad Spend vs how many people took your discount codes.
In a future article, I’ll show you how to leverage these people to create a custom audience and lookalike to target more people on Facebook likely to take your discount code.
Get detailed videos of this strategy and many other Amazon strategies by signing up for a free My Seller Pal account and use our free learning section.
Here’s to your success!
Jon
